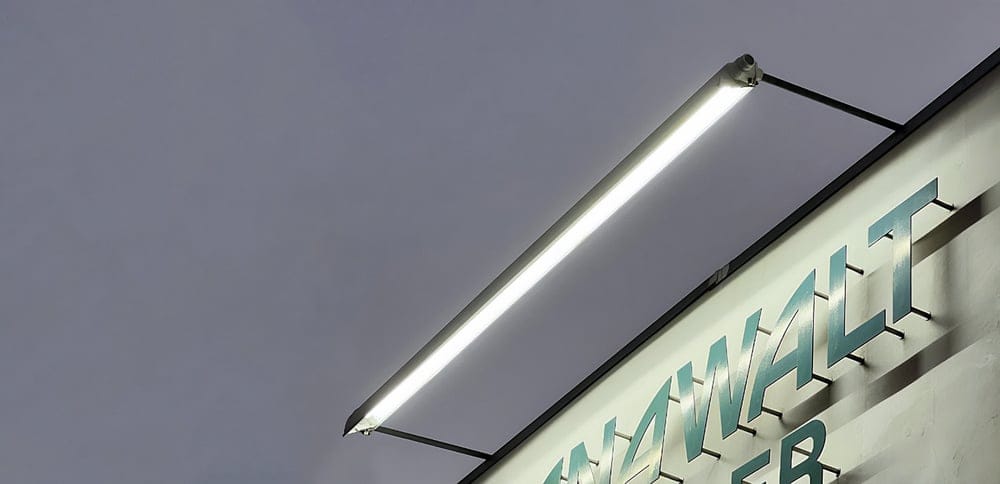
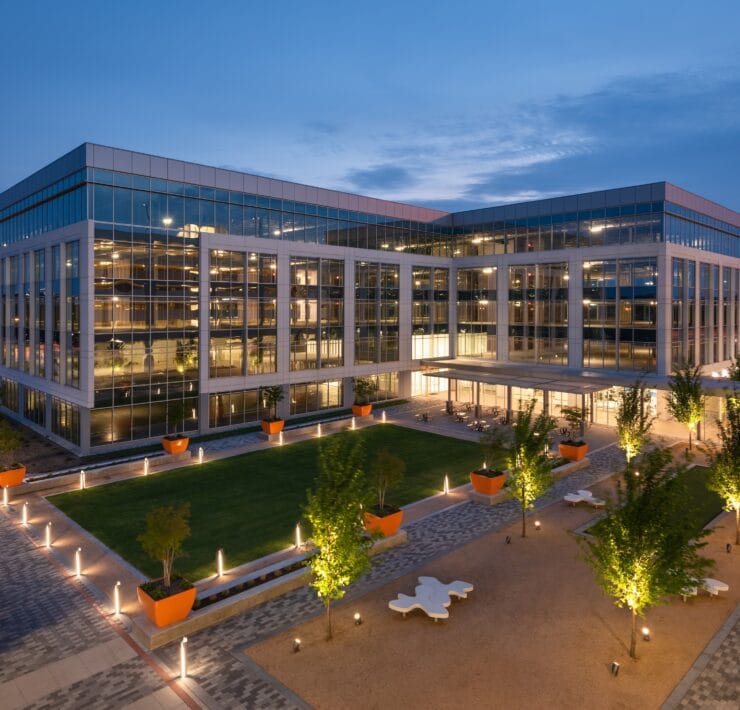
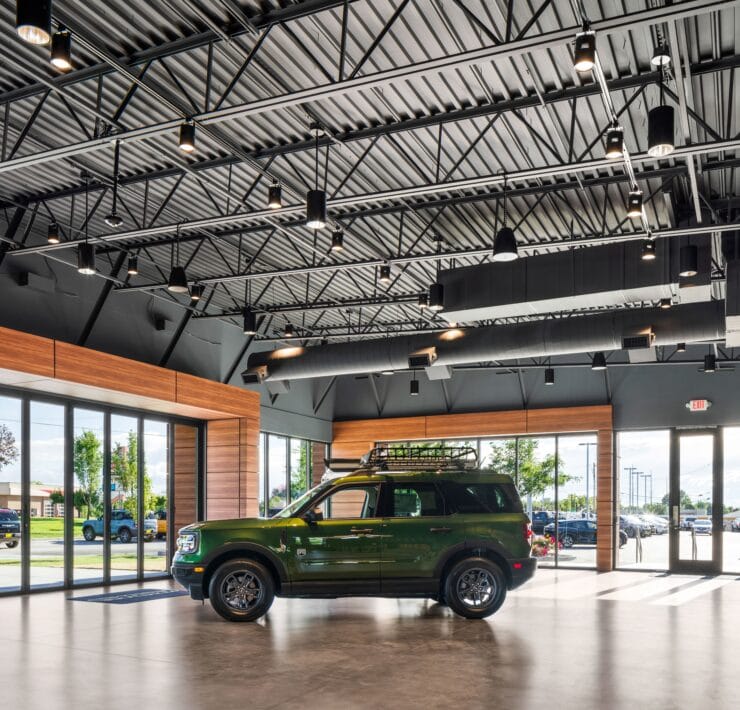
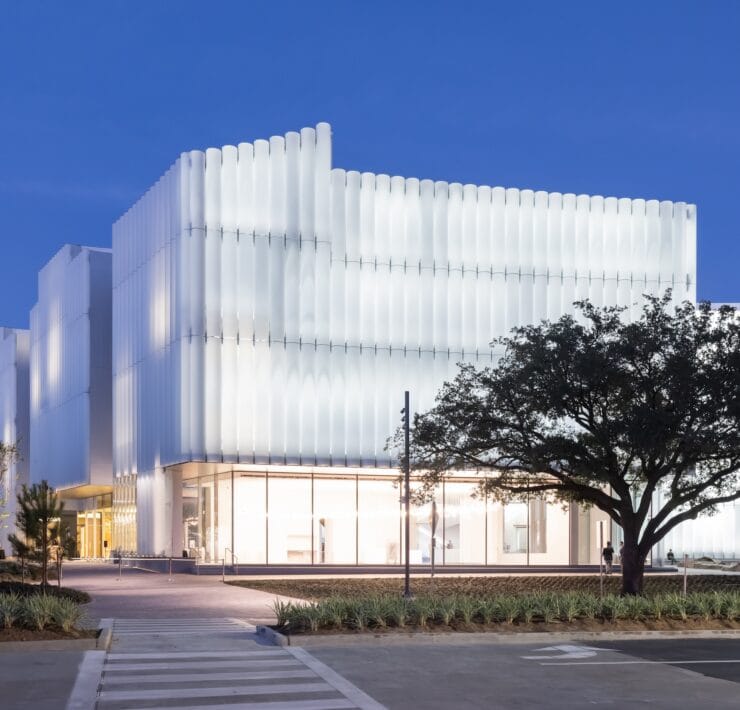
Business signage benefits from illumination to create a moment that attracts the customer. Advertising or retail signage can be lit by either an internal method that integrates the light source within the signage or an external source that shines light upon the surface of the signage. This article explores architectural opportunities, design practices and LED sign lighting solutions for lighting external commercial signage. Understanding the unique design parameters of each project is the first step toward achieving the best outcome. This guide examines potential architectural conditions, project needs and fixture types to identify necessary lighting specifications.
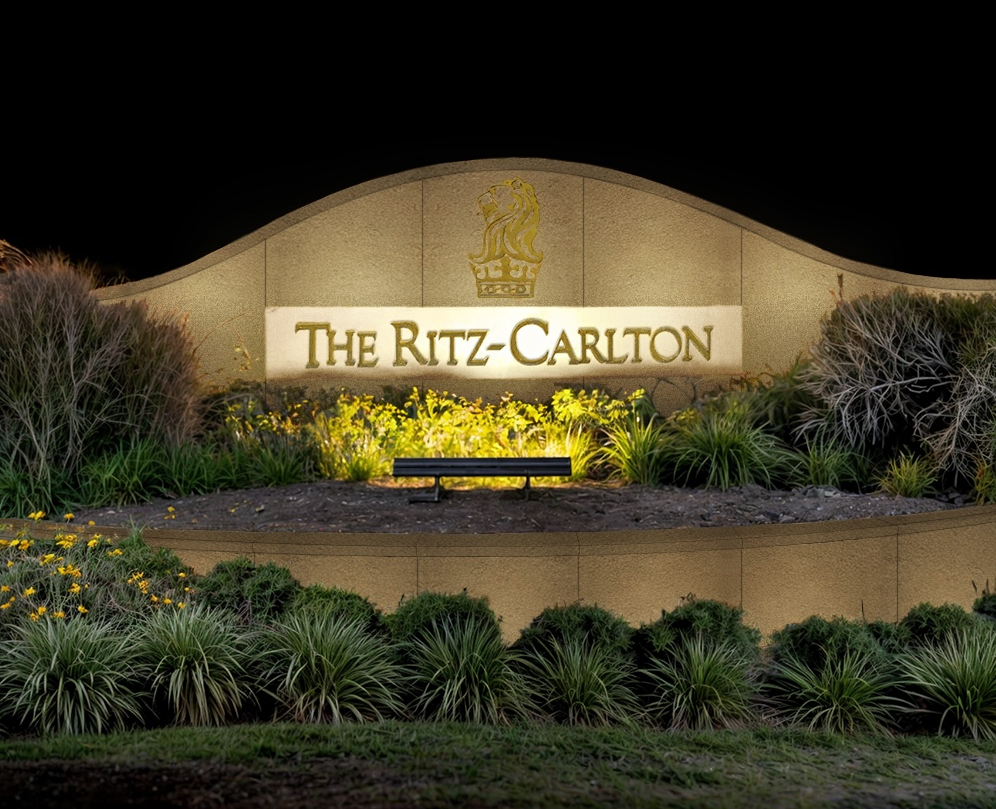
Table of contents
1. What are the proper considerations for external signage?
A. Height
The height of signage impacts the fixture mounting method, bream spread and lumen output needed to ensure optimal visibility.
- If the bottom of the signage is five or more feet from the ground, the light source should be mounted from above the signage.
- If the top of the signage is mounted less than five feet from the ground, the light source should be mounted from below the signage.

Using the appropriate fixture mounting approach fosters a direct sight line from prospective consumers and avoids a glaring “hot spot” of light on the signage.
B. Mounting condition
Develop the ideal light fixture mounting condition for your signage.

Based on the first point, if the signage is to be lit from below and pedestrians are expected to walk close by, the light fixture should be mounted in grade, where the pedestrian is unable to step on it. Take note of whether the landscape is hard, such as concrete, or soft, such as soil, as these conditions require specific mounting hardware. If the pedestrian walking on the light fixture is not a concern, either in-grade or above-grade fixtures can be used. Also, note that an in-grade source affords a direct design style though it can be more expensive. If your signage is to be lit from above, and there is a canopy or overhang to which a fixture can attach, the light fixtures should be mounted to that existing architectural component. When mounting to an overhang, surface-mounted and recessed fixtures are both available, but recessed lighting solutions may cost more.
If your signage is to be lit from above and there is no attached architectural component, fixtures can be mounted using an extended arm. Extended fixture arms may be a separate accessory or a common goose-neck style arm that is included with the fixture.

2. What type of fixture should be used to light the signage?
Once you know the signage lighting mounting conditions, the next step is to choose the type of light source best suited to your needs. Floodlights, point sources and linear sources each have aesthetic merit when lighting a surface.
- Floodlights provide simple, general illumination
- Point sources provide precise directional control with curved scallop-shaped illumination
- Linear sources provide a gradient of light along a surface

The facade or material of your signage is an important element of its design. If the signage surface has an appealing texture, use a linear source placed closer to the surface to graze the texture.

If your signage elements or lettering has three-dimensional depth, a linear light source with a diffuse lens reduces shadows. Conversely, if you want to bring out the three-dimensionality of the signage elements, one or two-point source light fixtures can be used to create effective shadows.
If you prefer a curved scalloped lighting aesthetic and want to reduce spill light, point sources ought to be used. Alternatively, floodlights can be a cost-effective choice for simply lighting an entire sign and facade area. Understanding the effects of different light sources will help you choose the right fixture type.
3. How bright should signage lighting be?
To finalize the signage lighting selection, you need to know how much light the fixture(s) should produce. The signage dimensions, exterior lighting zone, material reflectance value and light loss factor all affect the amount of light required.

To find the appropriate brightness, define requisite lighting metrics.
- Total amount of light produced by a light source, expressed in the standard unit lumens (lm)
- Intensity of a light source in a specific direction, measured by the standard unit candelas (cd)
- Amount of illumination from a surface, measured in the unit footcandles (fc) or the international standard lux (lx)
When reviewing fixture specifications, lumens are commonly listed, but candelas are especially useful for calculating the amount of light that reaches a given surface. Since you do not yet know how much light the fixture should produce, begin with footcandles to identify appropriate illumination for signage. Generally, it’s good to use 40 footcandles as the initial target illuminance value of signage. Note that wattage cannot exceed 2.3 watts per square foot for the illuminated surface area (Title 24 2022, pg 88). Consider each step below to identify the necessary metrics for your signage lighting calculation.
A. Setback distance
Signage that is larger requires its light source to be further away to produce evenly distributed illumination. In general, the setback distance between a light fixture and signage should be equal to the height of the sign. If multiple fixtures are used, fixtures should be horizontally spaced two times the distance of the setback.
Knowing your setback distance is the most important factor in calculating how much light will reach your sign. If choosing to graze signage material with a linear light source, your light source setback should be one-quarter of the height of the signage.

B. Lighting zones
Outdoor lighting zones represent allowable outdoor brightness for a given environment, which considers urban density and proximity to wildlife. Each city or jurisdiction has its own outdoor lighting zone number listed from LZ0-LZ4.
- LZ4 is a special use district created by a local government, for which you would double the target illuminance from 40 fc to 80 fc
- LZ3 is the most common zone for urban areas, for which you would maintain the 40 fc target illumination
- LZ2 is for outer urban or rural areas, for which you would halve the target illuminance of 40 fc to 20 fc.
- LZ1 is for areas of developed portions of government-designated parks, recreation areas, and wildlife preserves, for which you would halve the LZ2 target illuminance from 20 fc to 10 fc
- LZ0 is for underdeveloped areas such as government-designated parks, recreation areas and wildlife preserves, where artificial lighting is usually prohibited (IES RP-43-22, pages 27-29)
In this calculation, the lighting zone LZ4-1(noted as Z) is to use the multiplier 2, 0.5, 0.25 as described per its zone. Government ordinances must be consulted to comply with regulations.
C. Material reflectance value (Rv)
Material reflectance value (Rv) describes the amount of light a given material illuminates when light is projected upon it, which involves the color and texture reflectance of a material. A simple search can help you find the relative reflectance value of a signage surface. In general, darker colors and coarser materials absorb more light and are less bright. Reflectance values range from a 0.1-0.9 (low to high) illuminance metric (IES RP-43-22, pages 27-29).
- The >0.6 Rv range offers full illuminance
- The 0.3-0.6 Rv range affords two times the full illuminance
- The <0.3 Rv range yields four times the full illuminance
Factor the reflectance value of the material into the required light source brightness calculation as Rv. Use the multiplier of one, two, or four as described.
D. Angle of incidence
Angle of incidence describes the angle that a light source interacts with a surface, which affects the density of distributed light along the surface. A more acute angle of the light source distributes light further yielding less illumination.
For example, if a light source directly shines perpendicular to a surface, the angle of incidence is zero, and the angle is calculated relative to that degree. Given the setback distance of the light source to the signage, find the angle that directs the fixture toward the vertical middle of the signage. The effect of the angle of incidence is calculated using the cosine of the angle and will be factored into the signage lighting calculation.

E. Light loss factor
Lastly, incorporate the light loss factor (listed as Lf), which accounts for dirt and normal light depreciation over time. Light loss factor has a technical range based on the light source, though you can use a general light loss factor of 0.8 for ease of calculation.
Use the points above to figure the amount of light the signage lighting needs to produce (in candelas). For reference, use the inverse square law (using luminance over distance squared) to calculate how much light reaches a surface from a single source. To confirm the lighting calculation, refer to the metric abbreviations and calculation below:
Cd = Candelas (typically listed as center beam candlepower)
Z = Outdoor lighting zone
Rv = Reflectance value
D = Distance
* = Angle of incidence
fc = footcandles (we are using 40 here)
Lf = Light loss factor (we are using 0.8 here)
Equation:
(fc)(R)(Z)(Lf)(D^2) / cos(*) = Cd
Factoring in the known metrics from above, this calculation is re-written as:
(40)(R)(Z)(0.8)(D^2) / cos(*) = Cd
The equation above reveals the target candelas (Cd) required for each signage lighting fixture. If the center beam candlepower (candelas) is not listed by your light fixture specification, convert candelas to lumens by using a multiplication factor of 12.57. Note that candelas is more accurate for calculating directional brightness, though both metrics can be helpful.
Now that you have your lighting fixture type, target candelas and lumens, select the correct light fixture specification for your signage. When viewing specifications, note that light fixtures have different beam spreads that define the amount of surface area that the light will illuminate, as well as its form and intensity upon that surface. Some light sources may also use asymmetric beam directions, which can be useful to light a surface more evenly.
Review the quantity or length of the fixtures needed to cover the entirety of your signage at a given distance. Choose from a variety of light source colors, which affect the amount of light that reaches a surface.

Methods shown in this guide are intended for general illumination calculation, not as a completely precise measurement. Lighting calculation software may be useful for precise calculation. Lighting fixture manufacturers and sales representatives are also valuable resources for finding signage lighting solutions.
Garrett Rock is a seasoned lighting designer based in San Francisco, California. He earned his bachelor's degree in Interior Design from the University of California, Davis, and a Master's in Architecture from the California College of the Arts. Throughout his career, Garrett has contributed to firms such as Architecture & Light, Banks Landl Lighting Design, Geddes Ulinskas Architects and WSP. He currently serves as a lighting design consultant for Alcon Lighting and a technical writer for Insights, where he specializes in keeping readers current on energy regulations and in human-centric lighting guides for healthcare settings, retail and other commercial applications.

